A full-length Olympic barbell is one of the cheapest permanent things in a home gym, and the spread between the cheapest usable bar and a very good one is narrower than for almost any other piece of equipment here. That has a consequence worth sitting with: the money you save by buying at the bottom of the barbell market is small, while the money you lose by replacing that bar in three years is the whole purchase again. Every price on this page is live, read from the Amazon Product API with the date stamped underneath, because any article that prints a remembered number is wrong the week after it publishes.
What this page gives you instead of a number is the list of things a barbell price is made of. There are four, you can read all four off a listing in about a minute, and once you can do that you can tell a bar that costs more because it is better from a bar that costs more because it is painted differently. If you want the ranked list rather than the method, that is the barbell roundup, and the cheap end specifically is the budget barbell page.
The four things that set a barbell price
1. The published capacity, and whether there is one at all
Rated capacity is the first filter, not because you will ever load it, but because publishing a number is a commitment. A manufacturer that prints a 1,200 lb rating on the listing has decided it can defend that figure; a listing that prints nothing has decided it would rather not. Of the four bars ranked below, three publish a capacity and one does not, and that difference shows up in the price in both directions — the unrated bar is not automatically the cheap one.
The number itself matters less than most buyers think. A home lifter deadlifting in the mid hundreds is nowhere near a 1,200 lb rating, and a bar does not fail gradually at 90% of its rating. What a high rating buys you is margin for the one day a loaded bar comes down hard on the rack pins, which is when bars actually bend. The capacity figures and the rest of the dimensional specs are laid out on our Olympic barbell specs page.
2. The coating
Coating is where the biggest honest price difference in this category lives. Bare steel and black oxide are the cheapest finishes to apply and the ones that rust first; chrome, ceramic, Cerakote and stainless cost progressively more to put on a bar and progressively less to live with. On a bar that will spend its life in a humid garage this is the spec that decides whether you still own it in ten years, and it is worth more than any other upgrade at this price level. The full comparison is on barbell coatings compared.
3. The sleeve mechanism
Sleeves spin on either bushings or bearings. Bushings are cheaper, quieter and need essentially no maintenance; bearings spin faster and cost more, and they only earn their money if you clean and snatch, where the bar has to rotate under your hands at speed. The great majority of home gyms are better served by a bushing bar, and the money saved is real. We take the argument apart in bushing vs bearing barbells.
4. The brand standing behind it
The last component of the price is the least visible: whether the company will still be trading when you need a sleeve end cap or a snap ring, and whether it publishes a warranty you can read. That is not a spec you can measure in the first week of ownership, which is exactly why it is the one most buyers discount. It is also the reason the bar from the oldest brand in the list below is not the cheapest one.
What each price bracket actually buys
We will describe the brackets rather than price them, because the live figures in the table do that job and stay correct. From the bottom:
- The entry bracket. A full 7 ft bar, Olympic 2 in sleeves, a modest published capacity, a basic chrome or oxide finish, bushing sleeves. It will squat, press and pull for years if you keep it dry. What you give up is the capacity ceiling and the knurl quality.
- The value bracket. The same bar with a much higher published rating, dual knurl marks and a brand with enough volume that you can replace it easily. This is where most home gyms should buy, and the step up from entry usually costs less than a month of gym membership.
- The step-up bracket. A better coating — ceramic, Cerakote or stainless — a higher rating again, and a more considered knurl. You are buying corrosion resistance and feel, which are the two things you notice every single session.
- The specialty bracket. Trap bars, safety squat bars, EZ curl bars and multi-grip bars sit in their own market and are priced on tooling rather than on steel quality: fewer are made, they are more complicated to form, and the cheapest ones are cheap for visible reasons. See the trap bar roundup, trap bar vs straight bar and the safety squat bar roundup.
- The competition bracket. Certified bars built to federation specifications, bearing sleeves, tested tensile strength. Almost nobody training at home needs one, and the brands that dominate it mostly sell direct rather than through marketplaces.
The four bars, side by side
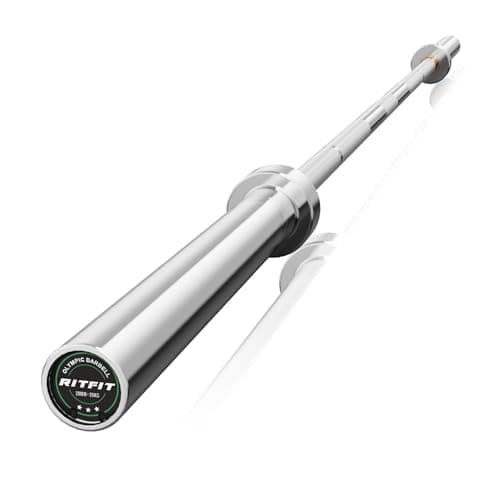
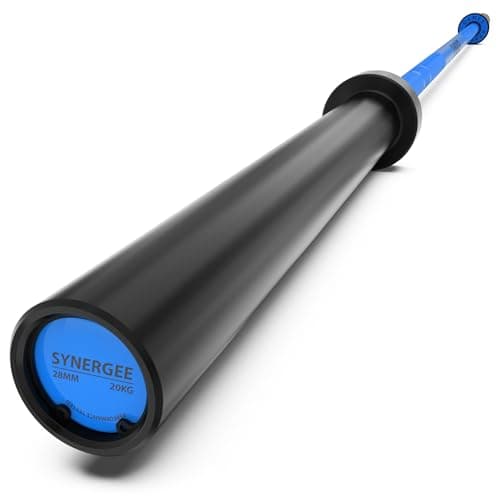
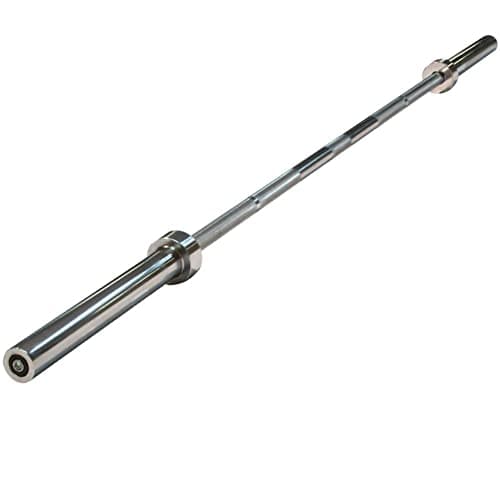
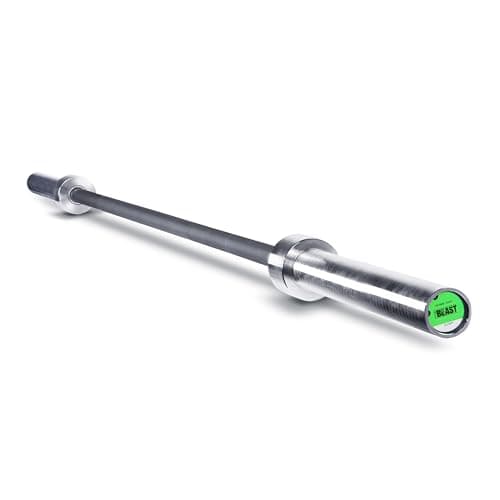
| As published | CAP The Beast | RitFit 7 ft | Synergee Games | Body-Solid OB86 |
|---|
| Length and weight | 7 ft / 45 lb | 7 ft / 44 lb | 20 kg / 44 lb | 7 ft / 44 lb |
| Published capacity | 1,200 lb | 500 lb | 1,500 lb | Not published |
| Finish | Alloy steel, functional finish | Chrome | Ceramic coating | Chrome sleeves |
| Knurl marks | Dual | Not published | Dual | Not published |
| Sleeve rotation | Bushing | Not published | Not published | Not published |
| Bracket | Value | Entry | Step-up | Brand pick |
Every cell is quoted from the manufacturer listing linked in Sources, and where a listing does not state a figure the cell says so rather than guessing. Note how much of this table reads “not published”: the barbell category is poor at publishing knurl and sleeve detail, which is precisely why capacity and coating end up carrying the buying decision.
The number that matters more than the price
A barbell is the longest-lived object in most home gyms. It has no upholstery to split, no hinge to develop play and no motor to burn out — the failure modes are rust, a bent shaft from a dropped load, and seized sleeves, and two of those three are maintenance rather than wear. We work through the whole lifespan question in how long do barbells last.
Divide any bar price by the years you will plausibly own it and the brackets above collapse into each other. The difference between the entry bar and the step-up bar, spread over a decade, is small enough to disappear into a monthly coffee habit — which is the argument for buying at the value or step-up bracket and never thinking about it again. The same arithmetic applied to the whole gym is on home gym cost per year.
Where a cheap bar actually costs you
Being honest about the bottom of the market: a cheap bar is not dangerous and it is not useless. Three things go wrong with it, and none of them is the shaft snapping.
- It rusts. A bare or lightly finished bar in a garage will show orange inside a season if it is not wiped and oiled, and knurl full of rust is unpleasant to hold. The fix costs the price of a brush and three minutes a week — here is the routine.
- The sleeves slow down or seize. Cheap bushings and loose tolerances collect grit. A seized sleeve makes cleans unpleasant and deadlifts noisier but will not stop you training; it is mostly an annoyance you notice every rep.
- The knurl is wrong for you. Too sharp and it shreds your hands, too smooth and heavy pulls slide. Knurl is almost never published, almost never photographed usefully, and is the single most common reason people replace a bar they could otherwise have kept forever. Knurling, explained is the page for that.
Do not forget what goes on the bar
The bar is the small half of the purchase. Plates cost more than the bar in nearly every home gym, they are priced per pound rather than per item, and the arithmetic for comparing them is different — that is how much weight plates cost. If you are buying both at once, a bar-and-plates bundle is often the cheapest route to a loaded bar, and the Olympic weight set roundup ranks the bundles on what the included bar is actually worth. Budget for a pair of collars too; they are the cheapest item in the gym and the one most often forgotten.
How to decide what to spend on a bar
Start from your heaviest lift, not your budget
If your deadlift is under about 300 lb and likely to stay there, the entry bracket is genuinely enough bar and nobody should talk you out of it. If you are heading into the mid hundreds, buy a published capacity in four figures once rather than buying twice — that is the single clearest place in this category where spending more is cheaper.
Let the room decide the coating
A bar in a climate-controlled basement can have any finish you like. A bar in an unheated garage, a carport or anywhere near a coast should have the best corrosion resistance you can afford, because the difference between finishes shows up in months rather than years. Our garage rust guide covers what to do when the room is already damp.
Only pay for bearings if you clean and snatch
Bearing sleeves are a real upgrade for Olympic lifting and an irrelevance for everything else. If your program is squats, presses, rows and deadlifts, put that money into the coating instead.
Check the length against the rack before you check the price
A 7 ft bar needs a wide enough span between the uprights to rack cleanly, and a shorter bar needs less. If your rack or your room is tight, a 5 ft Olympic bar such as the Sunny Health & Fitness 60" Olympic Barbell exists for the purpose, with the trade-off that the loadable sleeves are shorter. Measure first; a bar that does not fit the rack is the most expensive bar there is.
Ignore the color
A finish chosen for appearance rather than corrosion resistance is the clearest example in this category of price with nothing behind it. Buy the finish for the room the bar will live in.